First source you should go to is directly to the creators of Midjourney. It’s the best way to get the most updated information.
https://midjourney.gitbook.io/docs
Below are a few helpful images that might help when generating your images. Some images were created by myself, while other hints were provided by others. I try to give credit where it’s due, but if I miss you, I apologize.
This can help narrow down what might be best used for what style/scene you’re trying to render.
I have created some images using a seed (which tries to maintain a similar image, but gives subtle differences), and changed the aspect ratio to see how said ratio changes how the images look. Exterior buildings, Interior buildings, Abstract art and people are all shown below.


There are various ways you can control your images. “Quality” and “Stylize” are two fantastic features. Below is an image that shows the different effects the combinations of these features have based on the values used. The white outlined image is the default generated one with no ‘quality’ and ‘stylize’ input.


There is a “chaos” parameter you can use to add variation to your images. Below are some renders comparing the different values of chaos ranging from 0-100. I do some tests with larger increments of 10, and some with finer increments of 2.5 so you can better see the differences.


You can choose from 1 of 3 versions for the rendering, but also there’s a “hd” option available. Below are images showing the comparison of the different version with, and without the HD enabled, but also at different quality values ranging from 0.25-2. (Version 1 doesn’t support HD)


When creating your portraits, quite often you won’t get the perfect image. Cleanup is quite often needed. There are tools that can help with this, and below is an image showing Photoshops Neural filter that can be used to clean up faces.


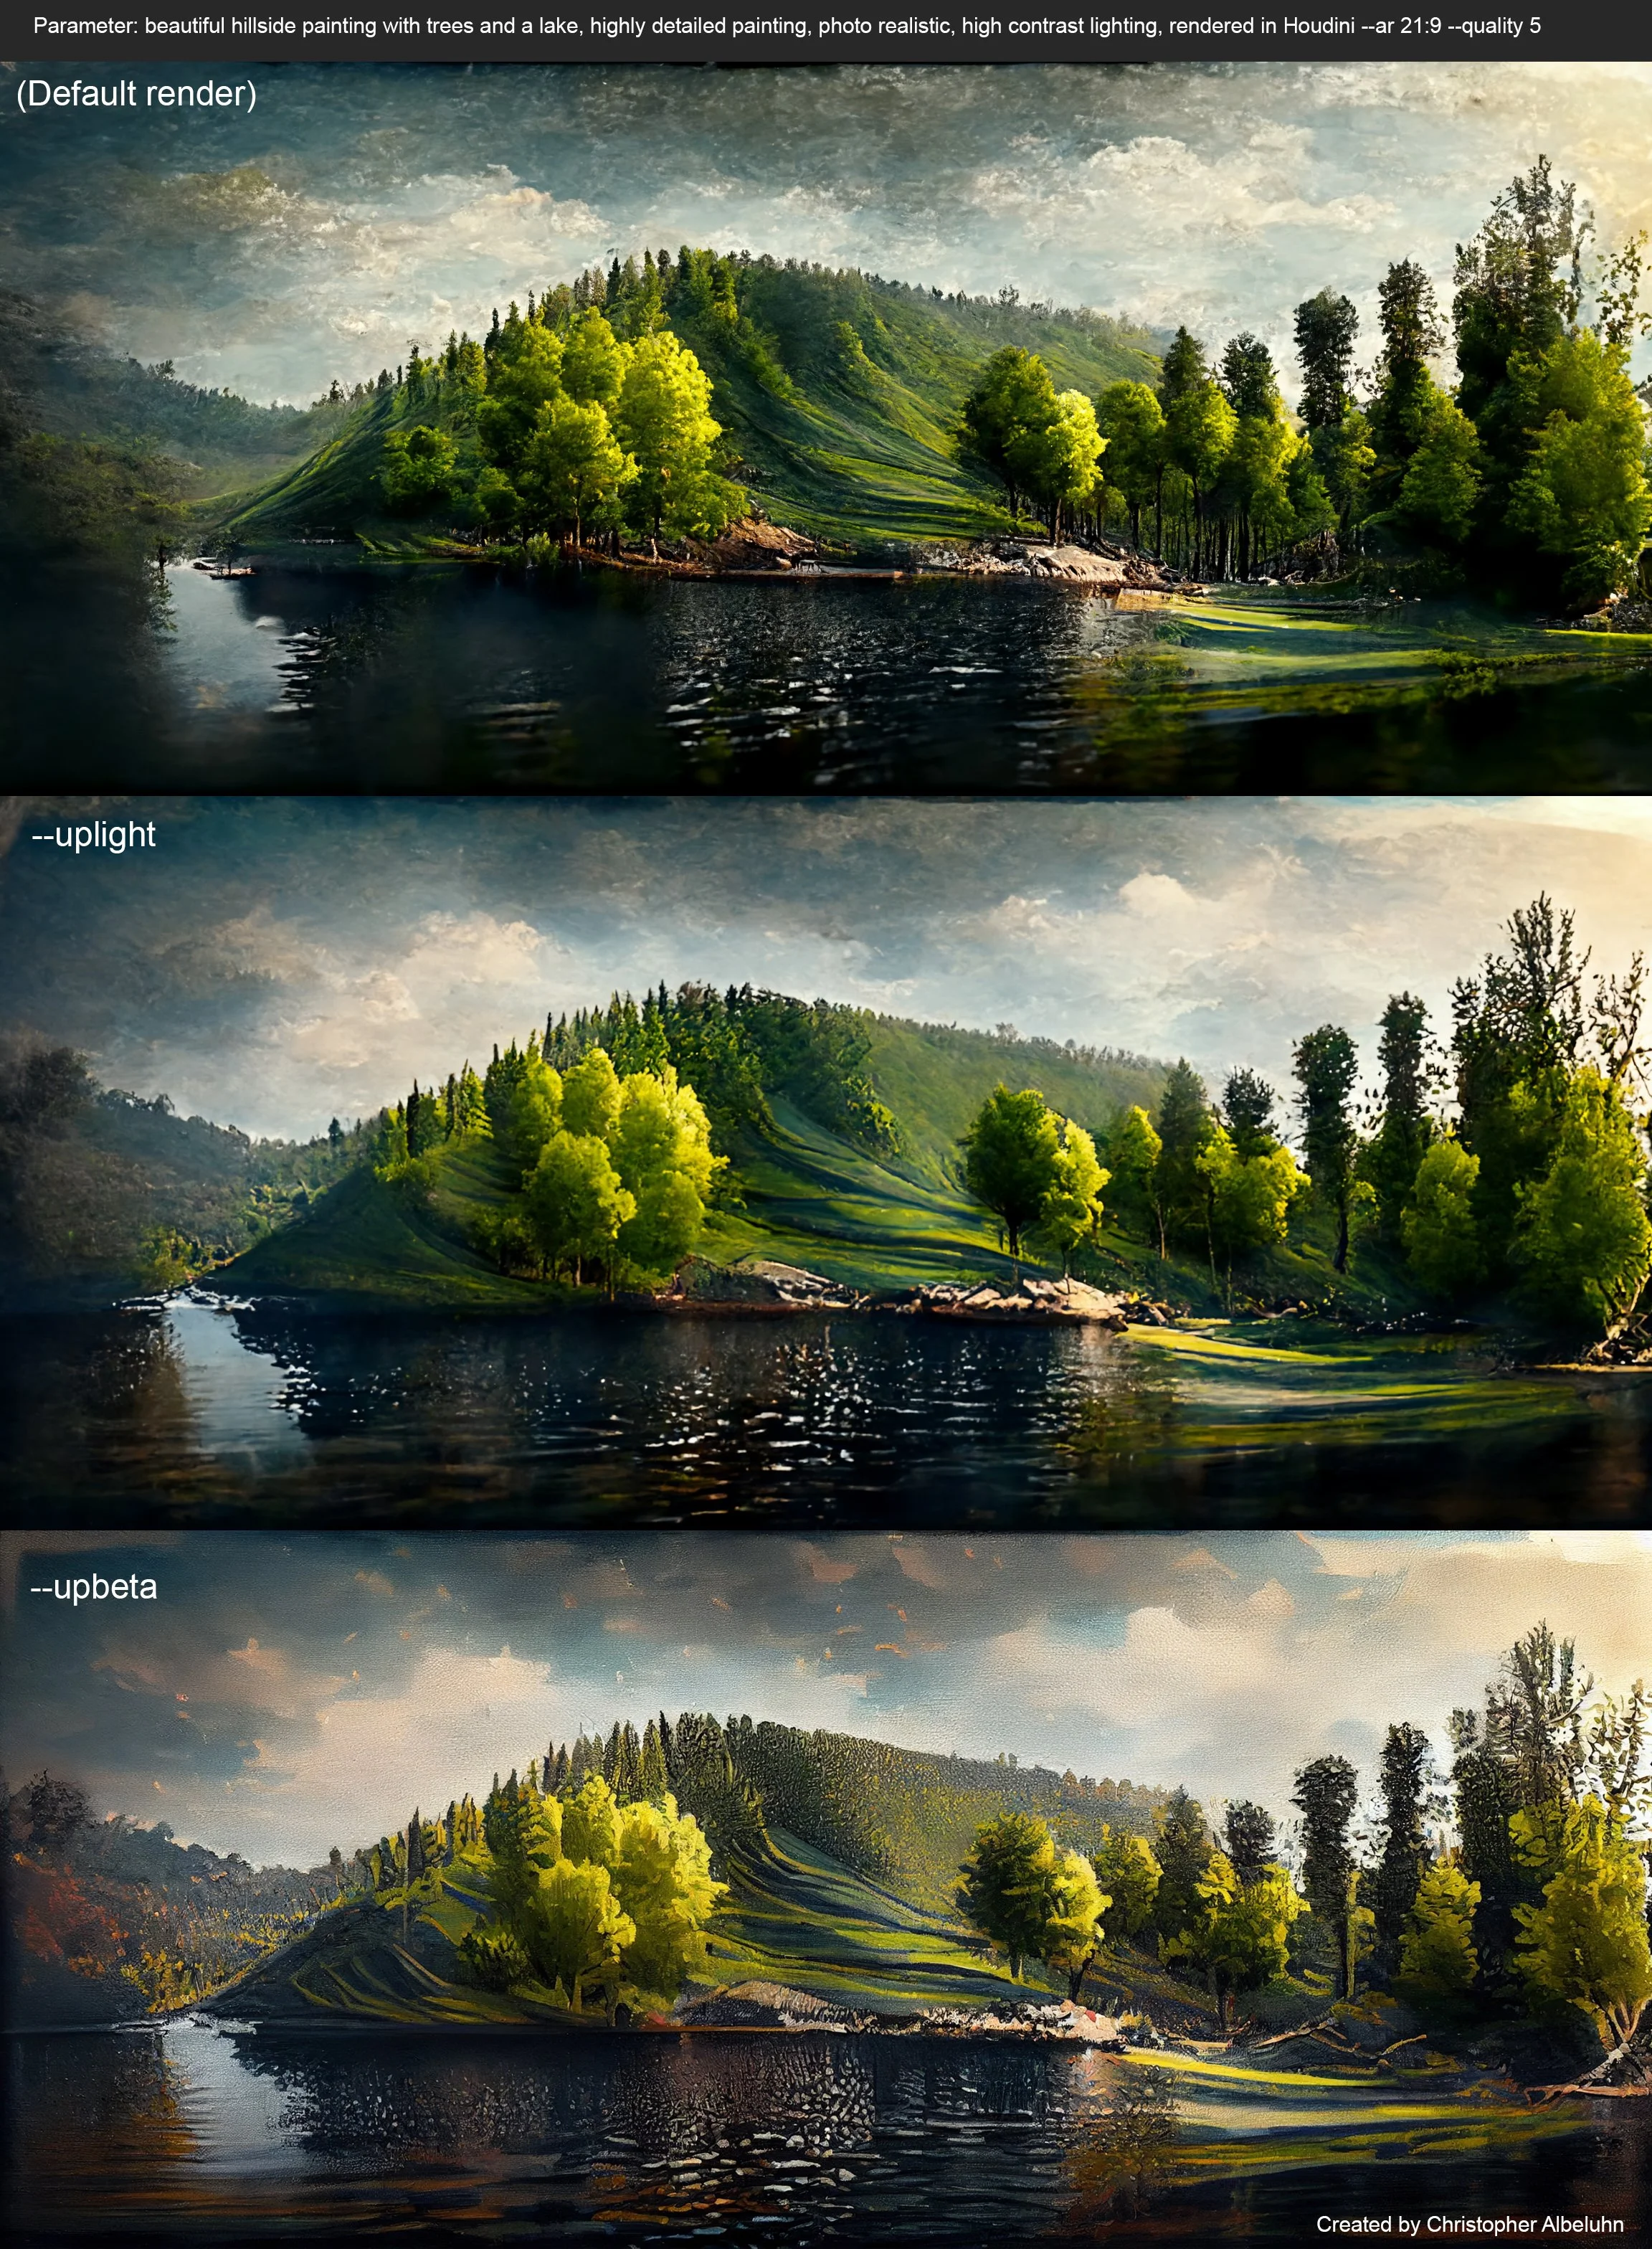
Depending on what you’re wanting to create, different rendering methods can be used. This is a comparison of the default render, an “uplight” render, and an “Upbeta” render. Keep in mind, I’m telling it to create a painting here. By default, the use of -Upbeta usually cleans up images, but this is still AI that we’re trying to tell what to do, and it will still take into consideration other elements of your input.
This was a comment on facebook regarding what rendering engines are best for what situations.
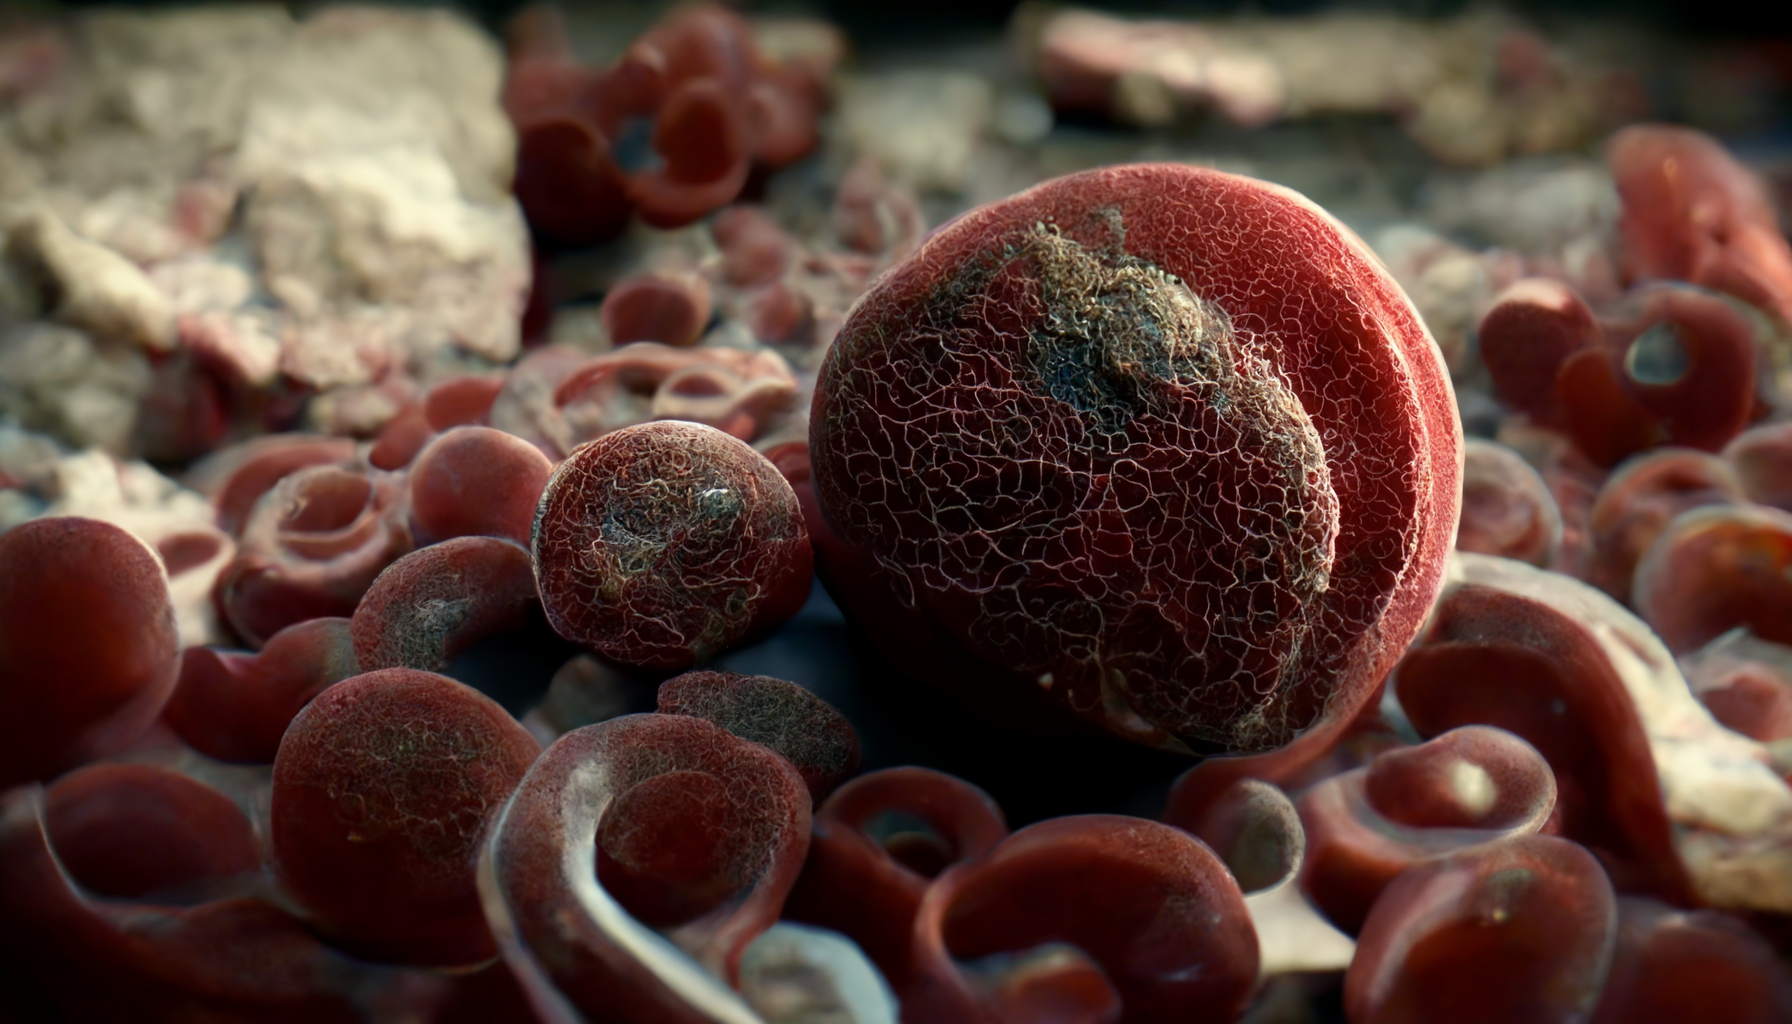
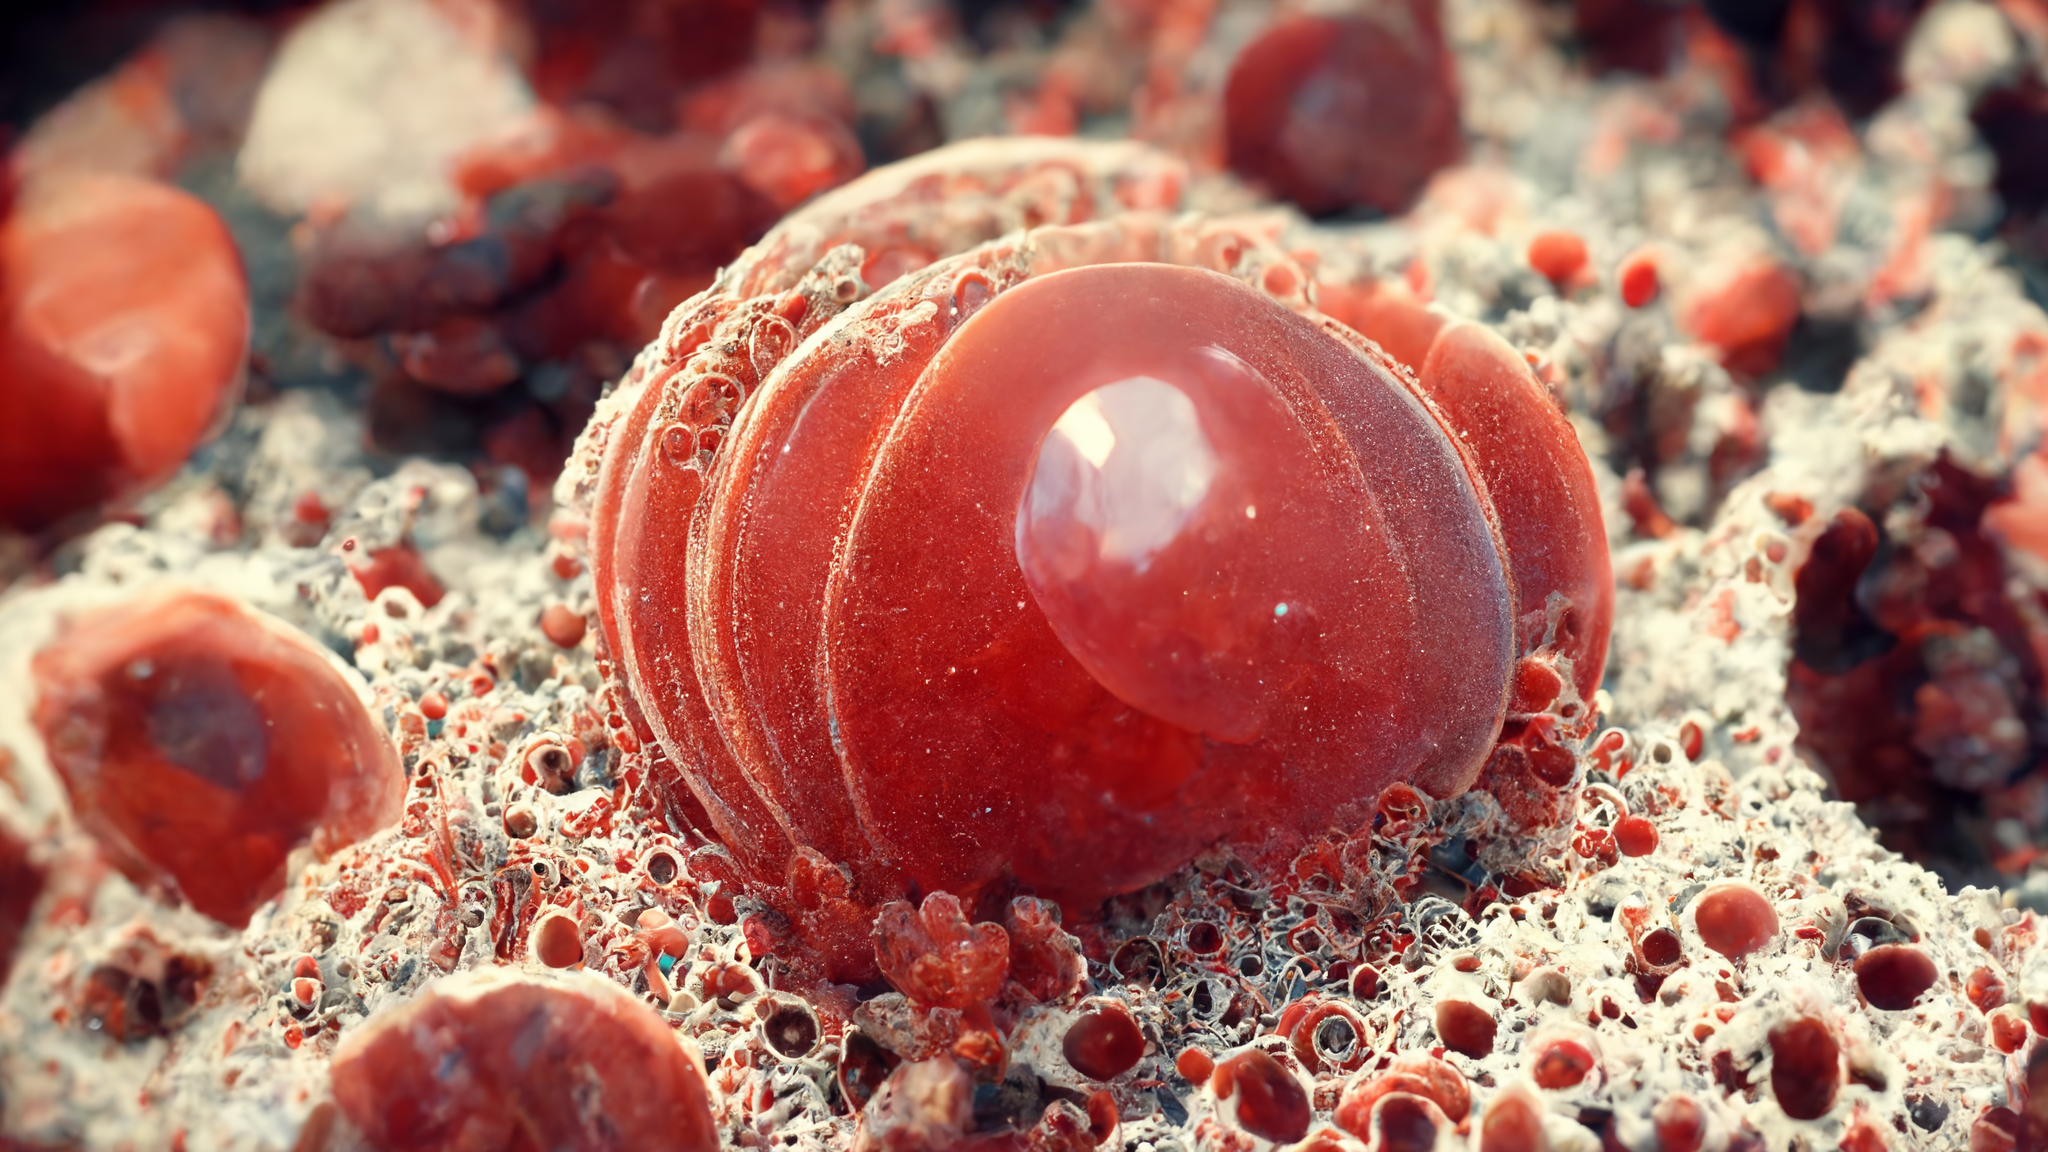
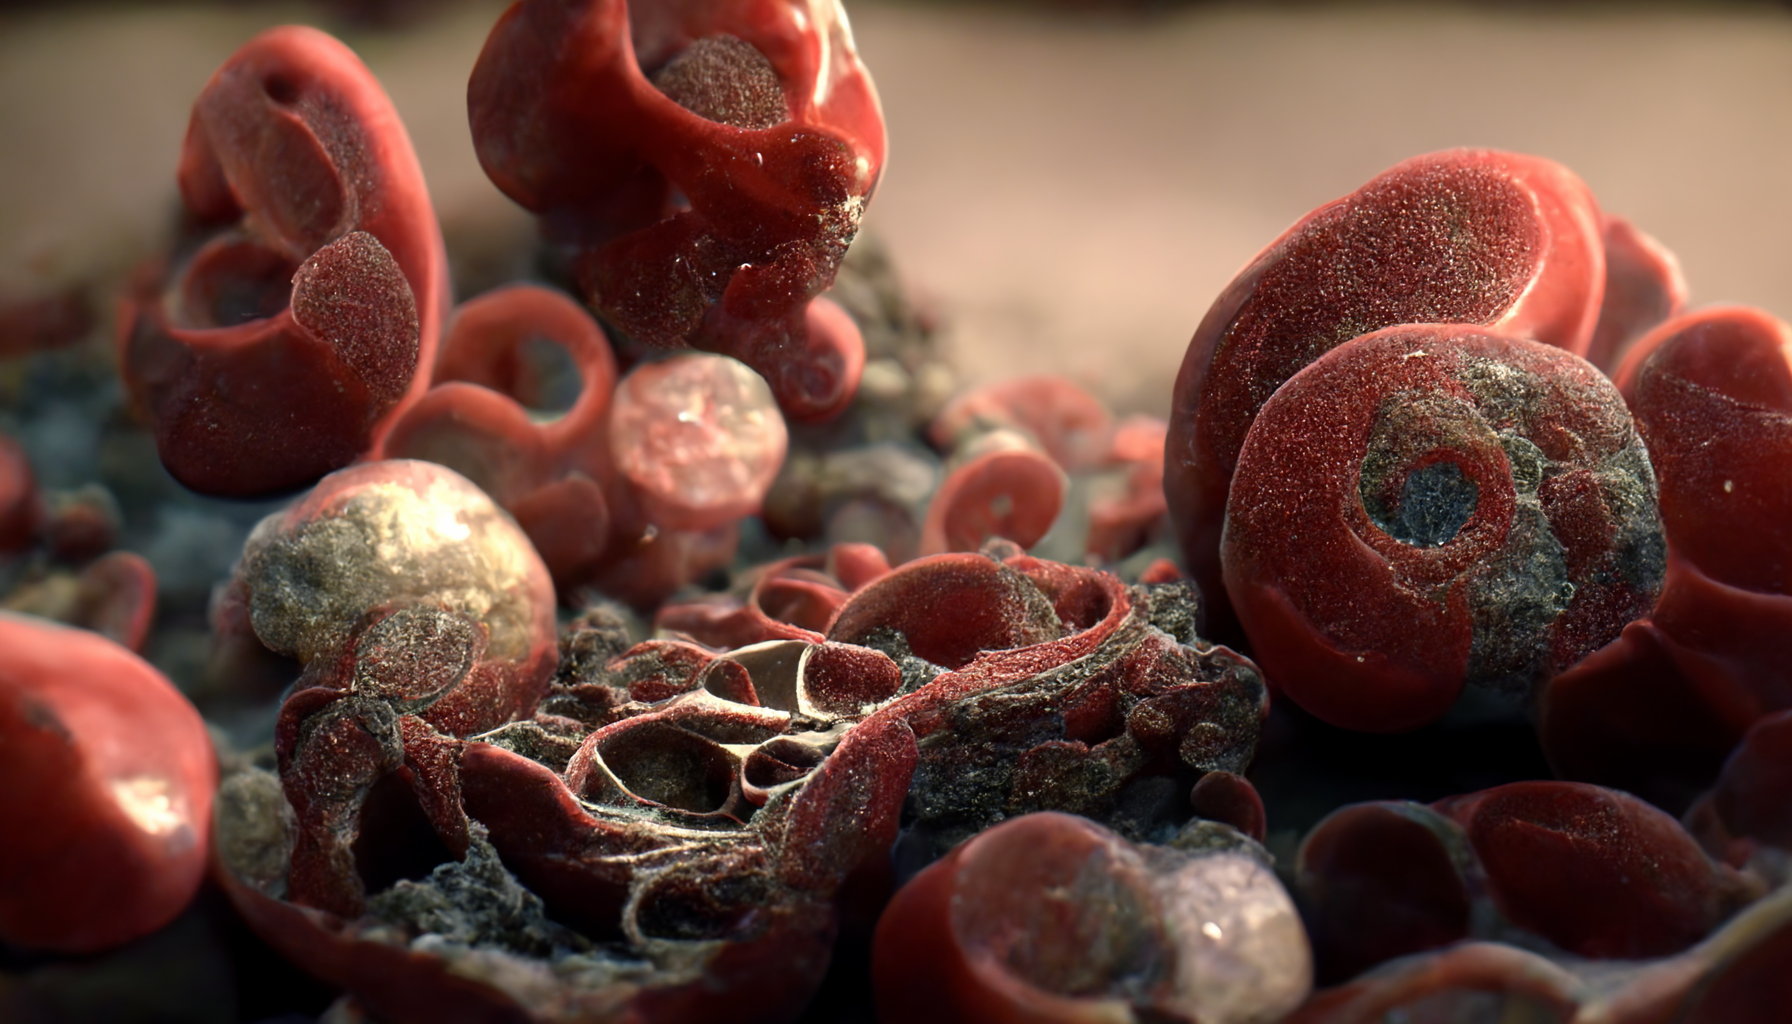
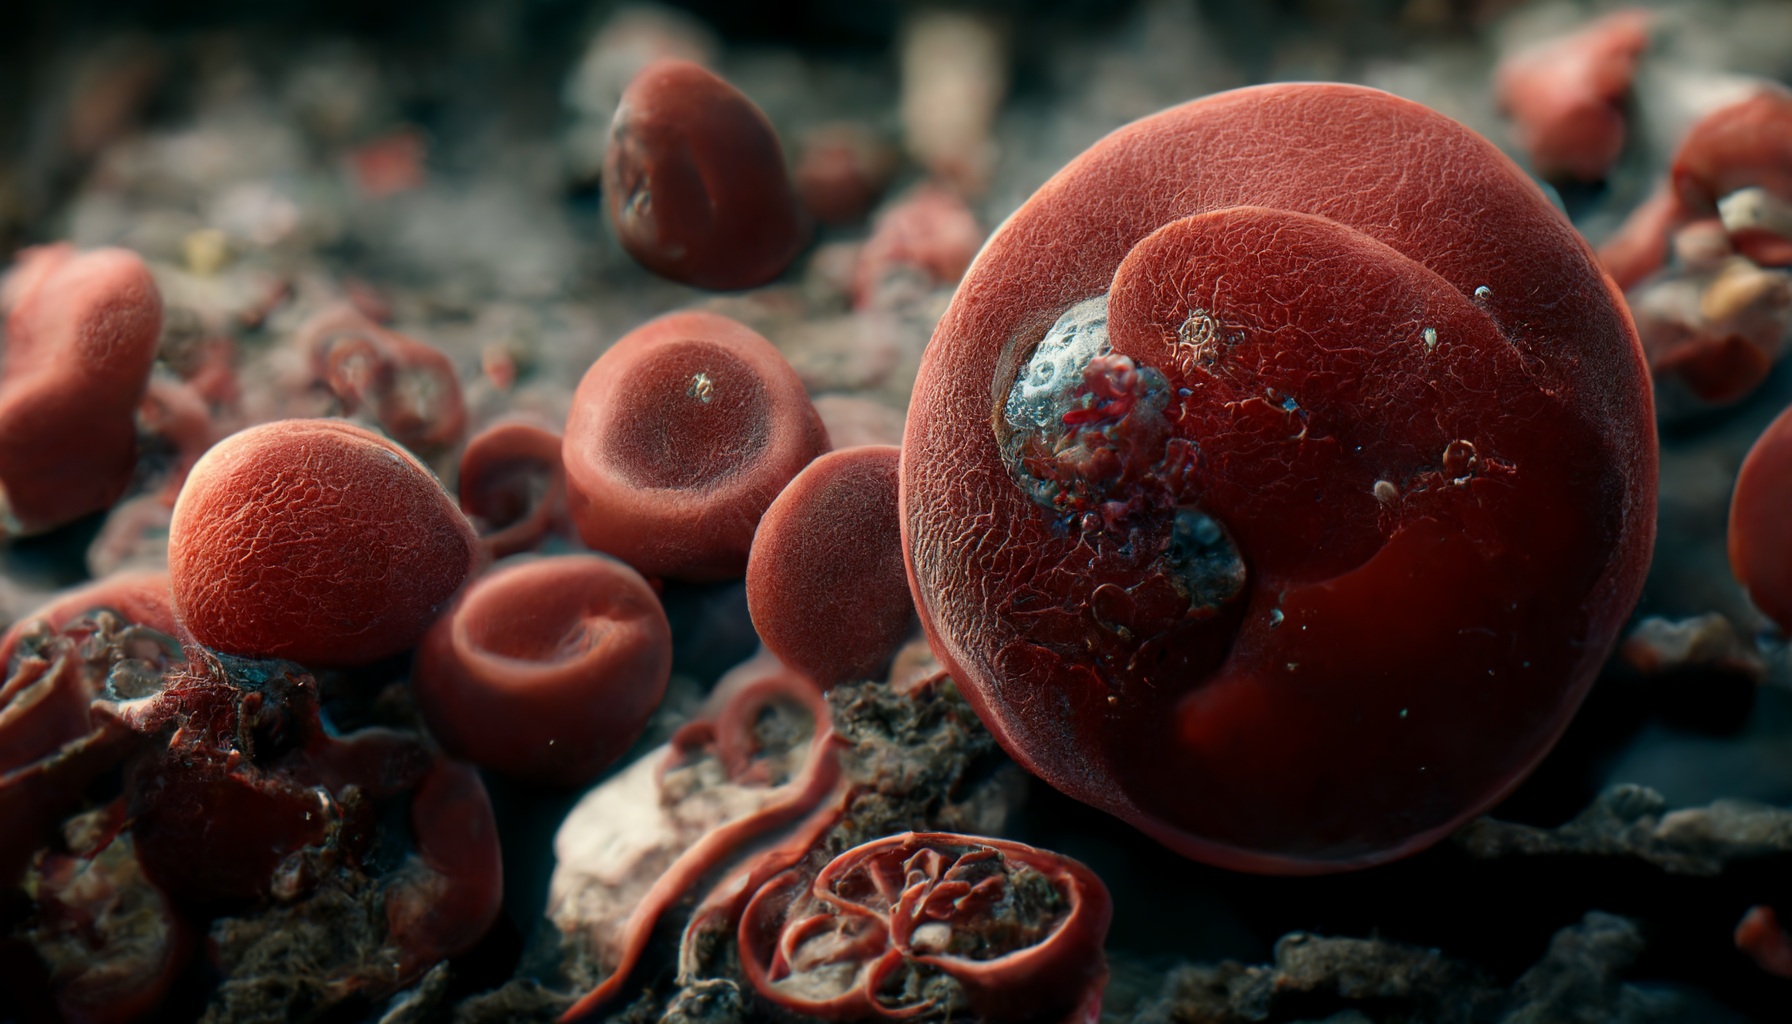
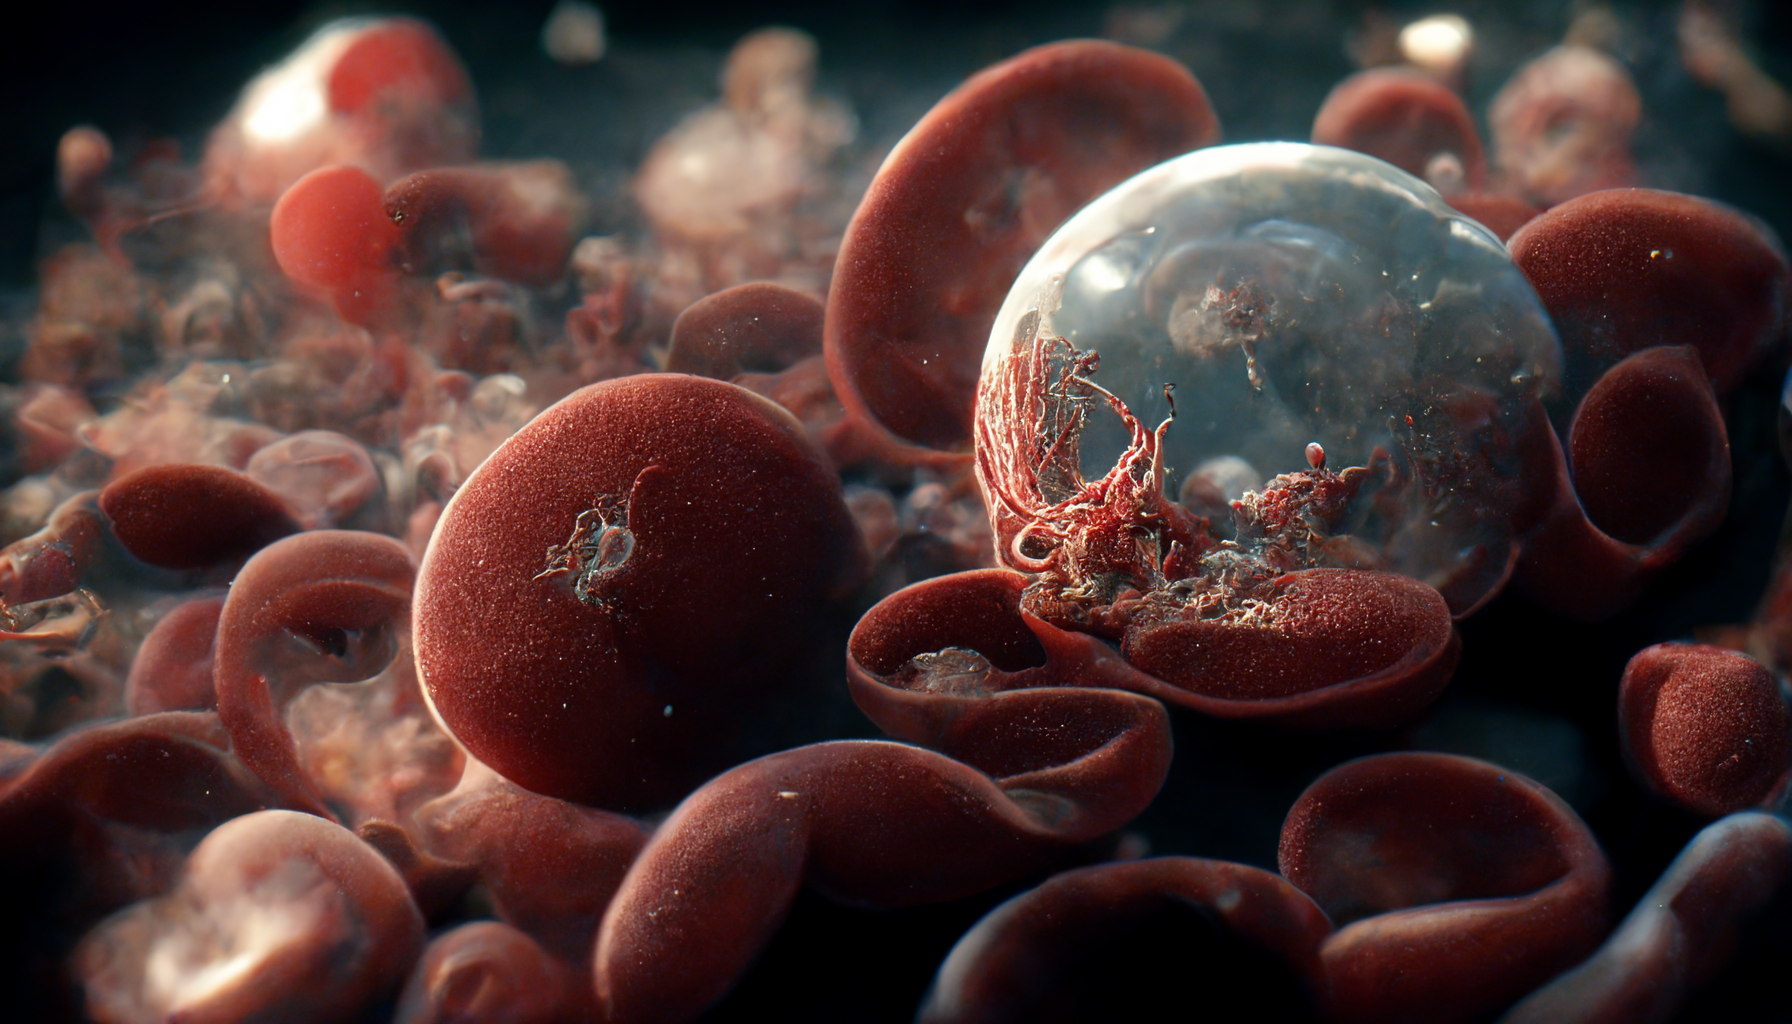
Wording is very important of course, but some words are banned. Please, always respect the items on the list. However, there are some situations like wanting a render of a microscopic blood cell (which is perfectly honest and fine), but since the word “blood” is banned, you can’t use it in your generation. This is to limit the gore the AI can generate I’m sure. However, in this situation, you can use the scientific work for blood which is “erythrocyte”. This will make the AI generate the microscopic blood cells, and ‘Gore’ won’t be a factor.
Here are a few examples of a render using “erythrocyte” in the prompt.

This shows the effect of the “—Stylize” command. This image is from the MidJourney Discord.

You can add or remove quality from your images. Quality must be between 0.25 and 2 as of August, 2022.
Below you can see Quality 1, Quality 2, and Quality 5 (Quality 5 is no longer available).
This image is from the MidJourney Discord.
Quality 1

Quality 2

Quality 5 (Discontinued)

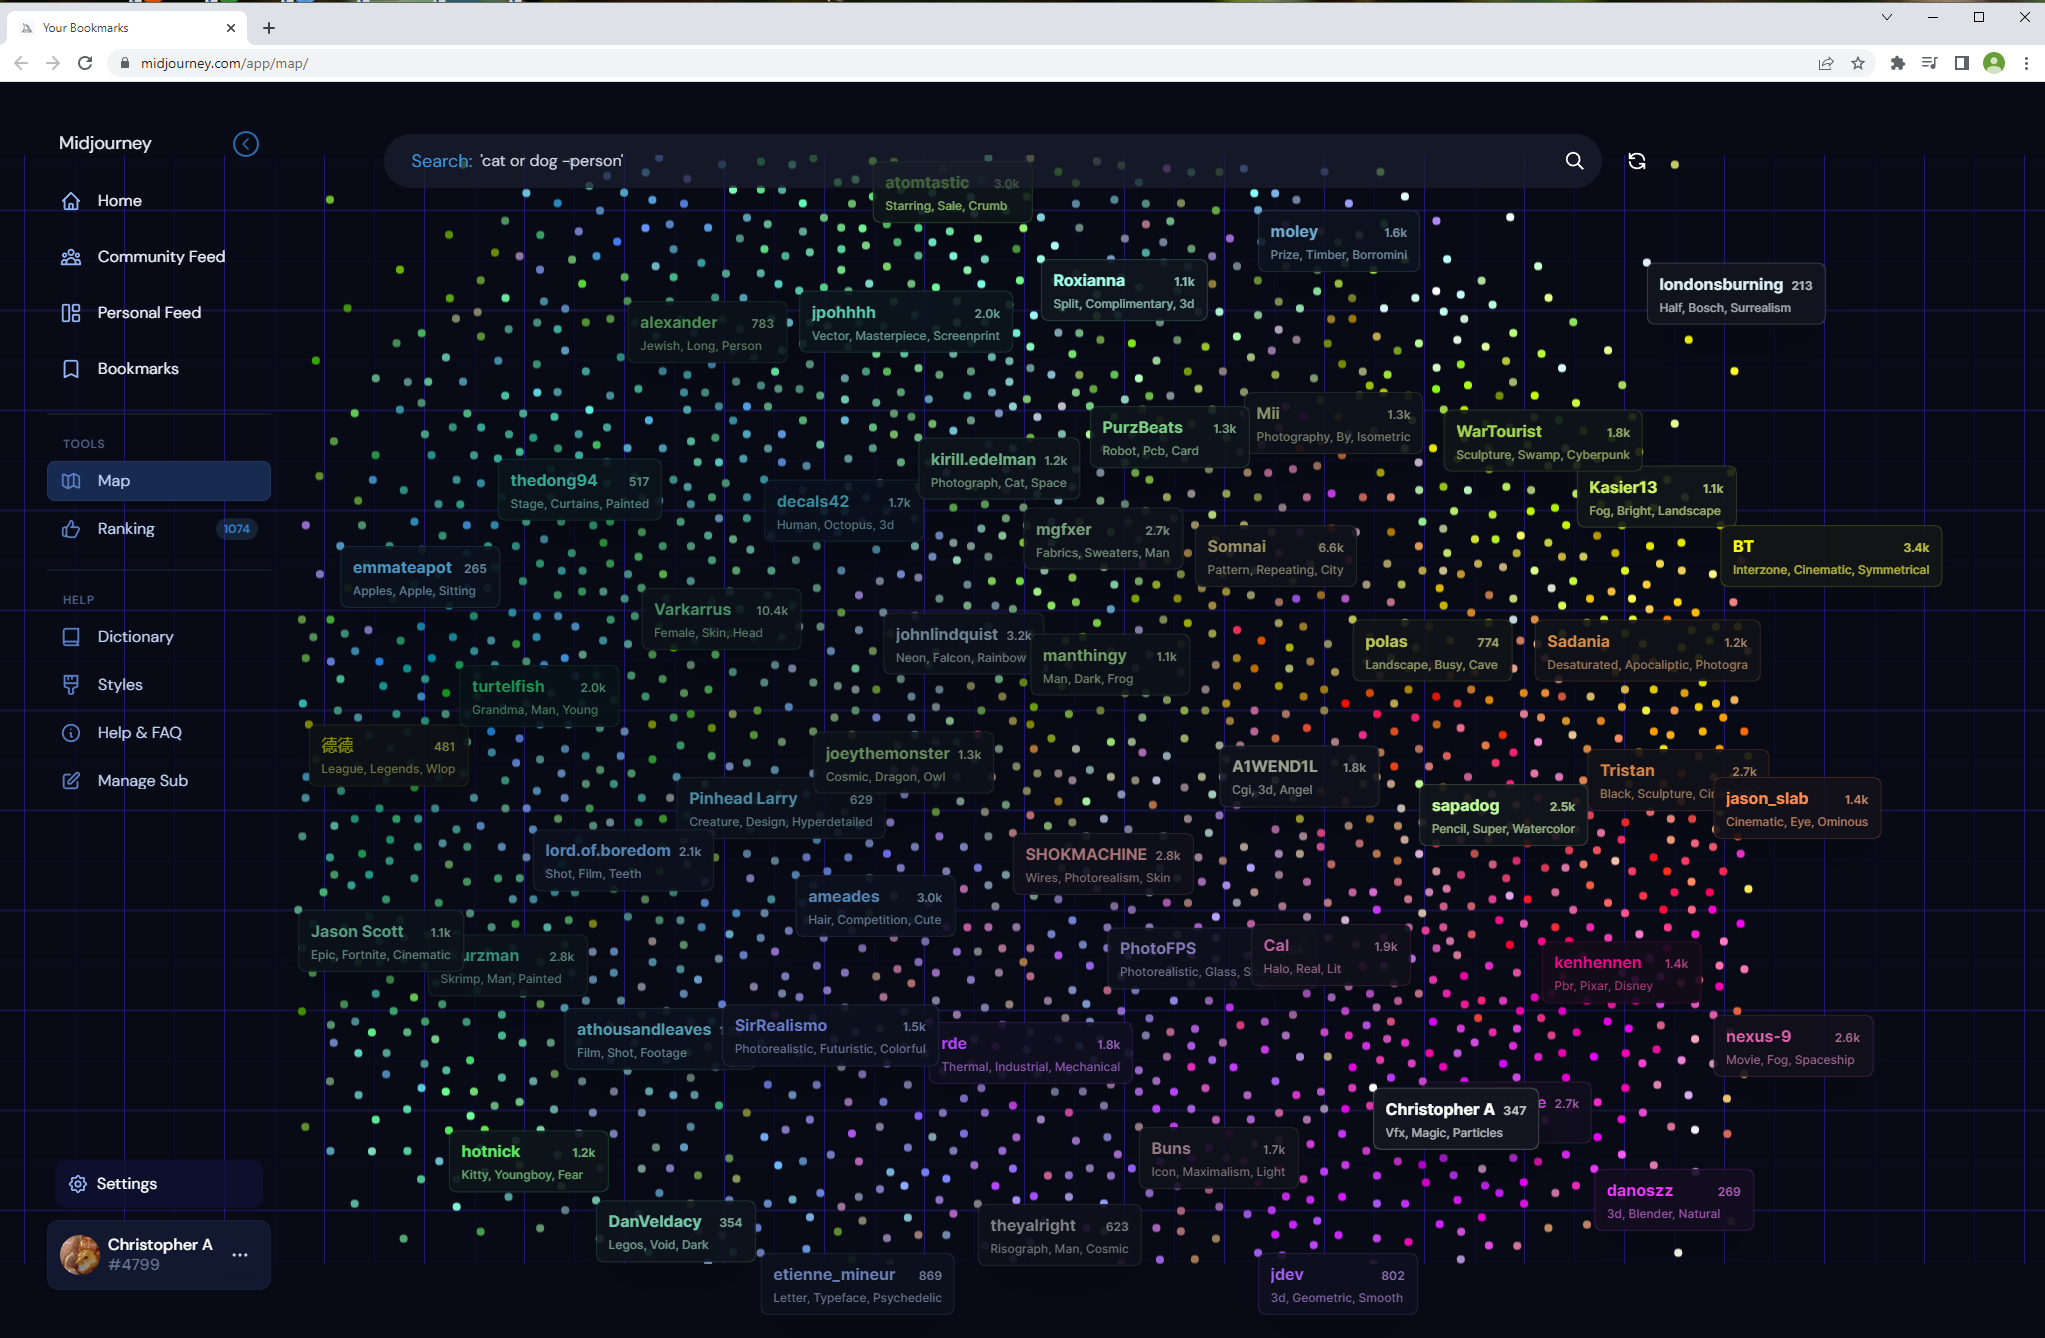
There is a “map" system of sorts that you can use to kind of navigate around and see what other people are creating, and some of their different renders and styles. Takes a bit to get used too, but you might find it very useful.
There is a prompt assist tool available for both MidJourney and DALL-E. You can use it to control what you are looking to create. It includes styles, lighting, camera, artists, color, materials, size, depth of field, quality, stylize, version and image input control. It automatically fills out a text prompt you simply copy into Discord and that’s it. (some tweaking can be done in Discord after).
